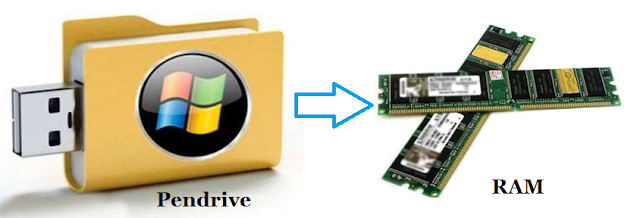
How To Use USB Pendrive as RAM In Windows XP, 7 And 8 
Process of Increasing Virtual Ram

Method 1St:-
- First of all Insert Your Pen Drive
- Then open "My computer" and Right click >> Then open "Properties".
- Now Properties window will appear, then click on "Advanced system settings" from left side.
- Then in "Advanced" Tab click on "Settings" Button appear in "Performance tab".
- Again new window will appear then click on "Advanced" Tab.
- In Advanced Tab there is an option of "Virtual Memory box", Then click on "Change Button".
Process of Increasing Virtual Ram
- After click Change Button "Virtual settings" will appear.
- Now unchecked the box of "Automatically Manage Page size feature"
- Then in Custom size Add Your Pen Drive current same in below format.
Note:- If Your Pen Drive is of Size 4Gb then always add 10Mb less from current available size. As i am using pen drive of size 4Gb and current space available is 3700 Mb then use 3690 minimum approx or remove more as you can because it better of device safety.
- Now Add same "Value" in both boxes and click on Apply button.
- Restart Your PC or Laptop and Now pen drive work as "Virtual Ram".
Important:- If you face problem in above method then can also follow below method which is easy to perform and work on Window 7, 8
Method 2nd:-
- Firstly Insert your "Pen Drive" >> Now Right click on your pen drive.
- Open "Properties" >> Then "ReadyBoost" Tab.
- Then switch to "Use this device" and reduce your current memory space. If your current device place is 3700MB then reduce it with approx 200-300MB.
- Then click on Apply button and all Done.
- In case if you want to change back your pen drive to normal then switch it back Don't use device in Readyboost tab.


No comments:
Post a Comment